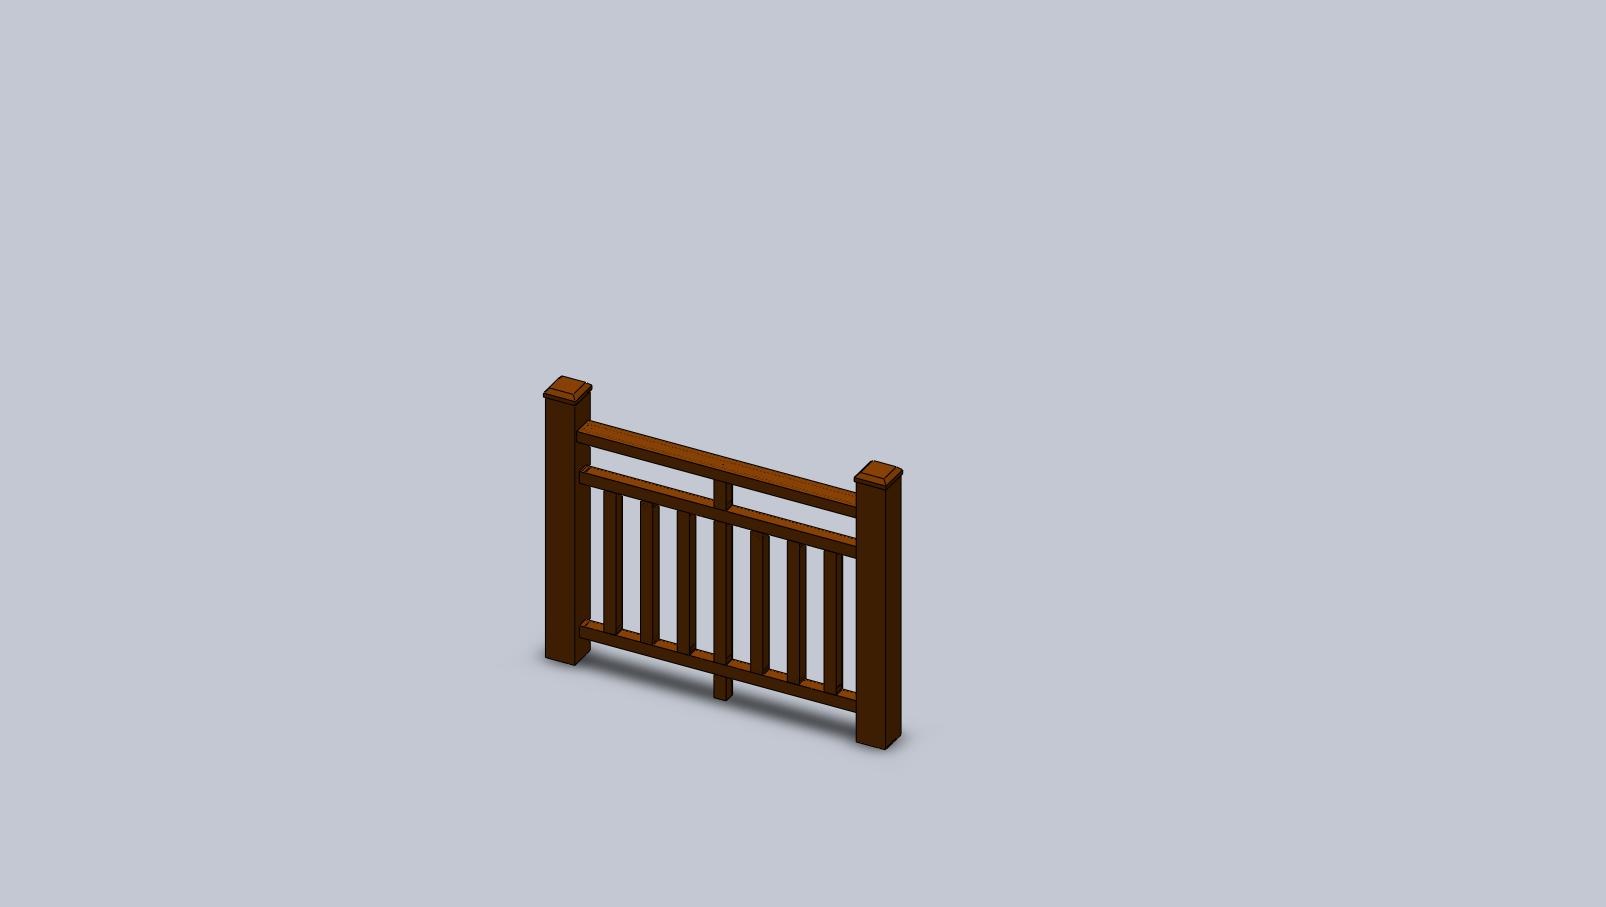
Installation of WPC fencing
Using a tape rule and a pencil, mark holes for fixing of plugs 40×40 on two balusters with a length of 1150 mm or two columns with a length of 1100 mm. The holes on balusters shall be marked on two opposite sides. Seven holes shall be marked on one side; the first hole shall be located at a distance of 125 mm from the edge, and the next six holes – at a distance of 150 mm from each other; one hole shall be in the center on the opposite side. The holes on columns shall be marked on one side. In case of installation of multiple spans, holes shall be marked on opposite sides of columns for abutting of subsequent spans; the first hole shall be located at a distance of 125 mm from the column foot, and the second one – at a distance of 650 mm from the column foot. Mark holes for fixing of plugs 40×40 on the railing. The holes shall be marked in the middle on the bottom (internal) side of the railing.
Then, by means of an electric drill, you shall make holes, using a drill with a diameter of 2.0 mm, on all the elements of the fencing, except for the railing. Insert a metal pipe in the railing so that the pipe does not protrude from the railing. With the help of an electric drill make holes in the railing using a drill with a diameter of 2.0 mm. Fix metal corners on both sides of the railing with screws 30×3.2 in holes in the railing and the pipe, previously drilled using a drill with a diameter of 2.0 mm.
Fix plugs 40×40 on the fencing elements in all the marked holes using an electric screwdriver.
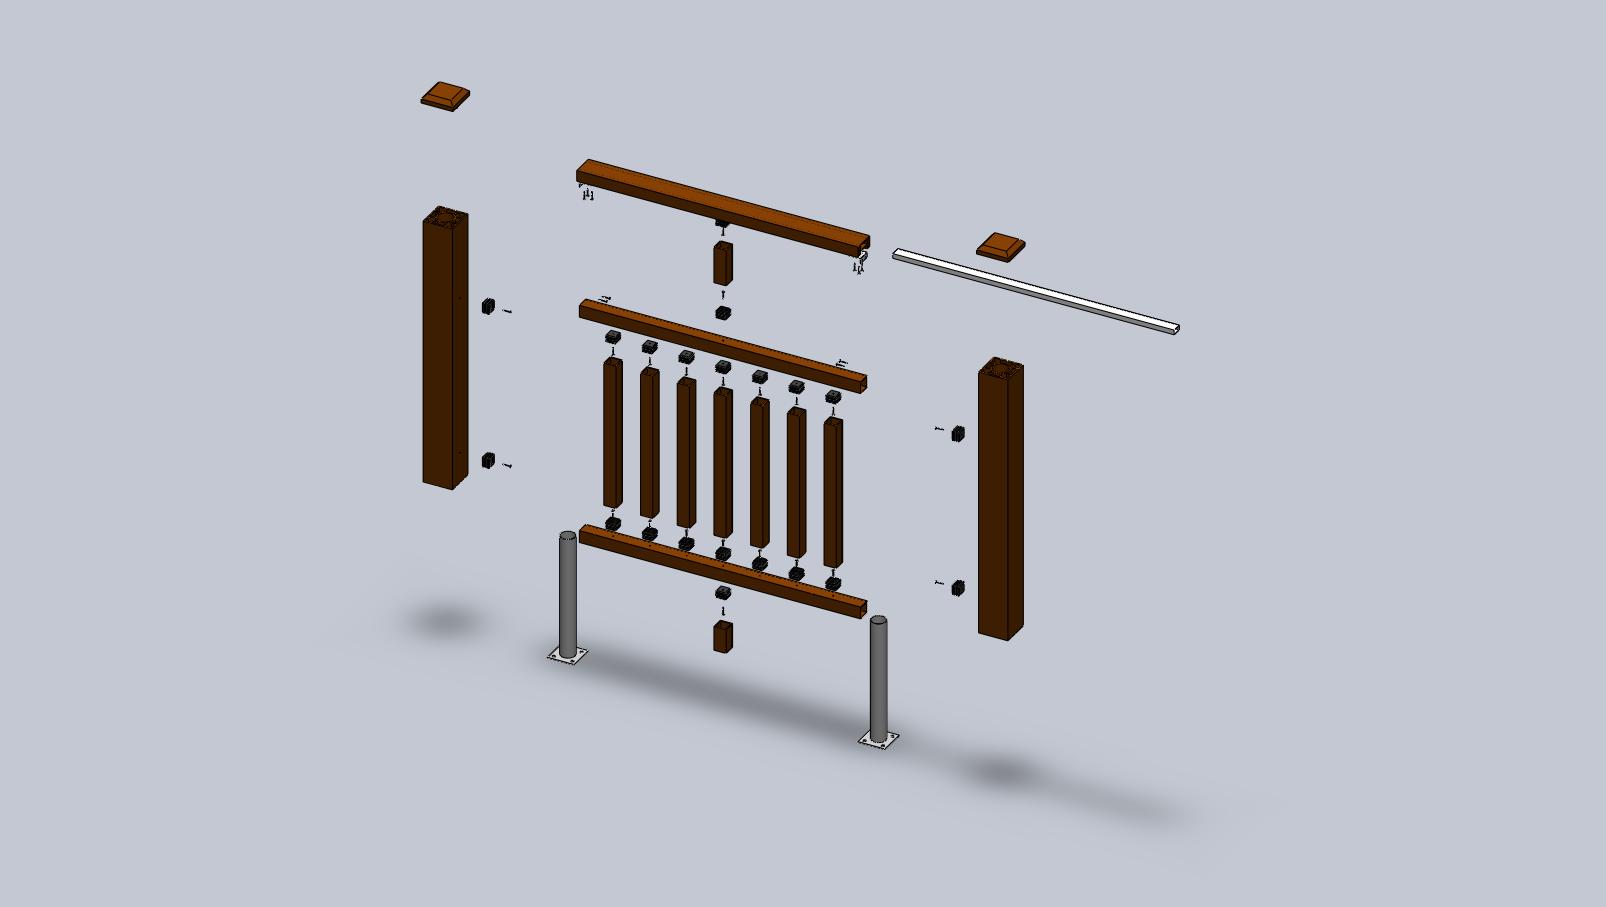
To eliminate the possibility of scrolling of the seven balusters with a length of 600 mm in the assembled fencing, one row (7 pcs) of plugs 40×40 shall be additionally fixed with screws in the corners. Previously, the plugs shall be set parallel to the installation axis and checked with a metal ruler. After that:
-
on the first baluster with a length of 1150 mm with installed plugs: install 7 pcs on the one side of the baluster with a length of 600 mm and one baluster with a length of 100 mm on the other side;
-
on the second baluster with a length of 1150 mm with installed plugs: install one baluster with a length of 150 mm;
-
on the baluster with installed vertical elements: install a baluster with a length of 1150 mm on top;
-
turn the assembled element so that the baluster with a length of 100 mm is below;
-
install columns on the left and on the right on the assembled element with vertical balusters.
Install the assembled fencing on supports, mount railings on the top and fix them at the columns with screws.
The manufacturer reserves the right to modify the guidelines. All the changes are posted on our website. In case of failure to comply with the guidelines and recommendations, the manufacturer reserves the right to void the provided warranty.